Guide to Drawing Skulls
Introduction
drawing:oldj_7nsvxk= skull .Drawing skulls might seem like a niche or intimidating subject, but it’s a fascinating and rewarding endeavor. Whether you’re into fine arts, illustration, or just doodling for fun, understanding how to draw skulls can significantly enhance your artistic skills. Let’s dive into the world of skull art, its history, and the techniques that can help you master this compelling subject.
Materials Needed for Skull Drawing
Before you start drawing, gathering the right materials is crucial.
Pencils and Pens: A range of pencils from 2H to 6B will give you the flexibility to create both light sketches and dark, bold lines. Fine liners or ink pens can add sharpness to your details.
Paper Types: Smooth paper is excellent for detailed work, while textured paper can add an interesting dimension to your drawings.
Additional Tools: An eraser, blending stumps, and a sharpener are essential. You might also want a ruler and a compass for precision.
Understanding Skull Anatomy
To draw a convincing skull, you need to understand its anatomy.
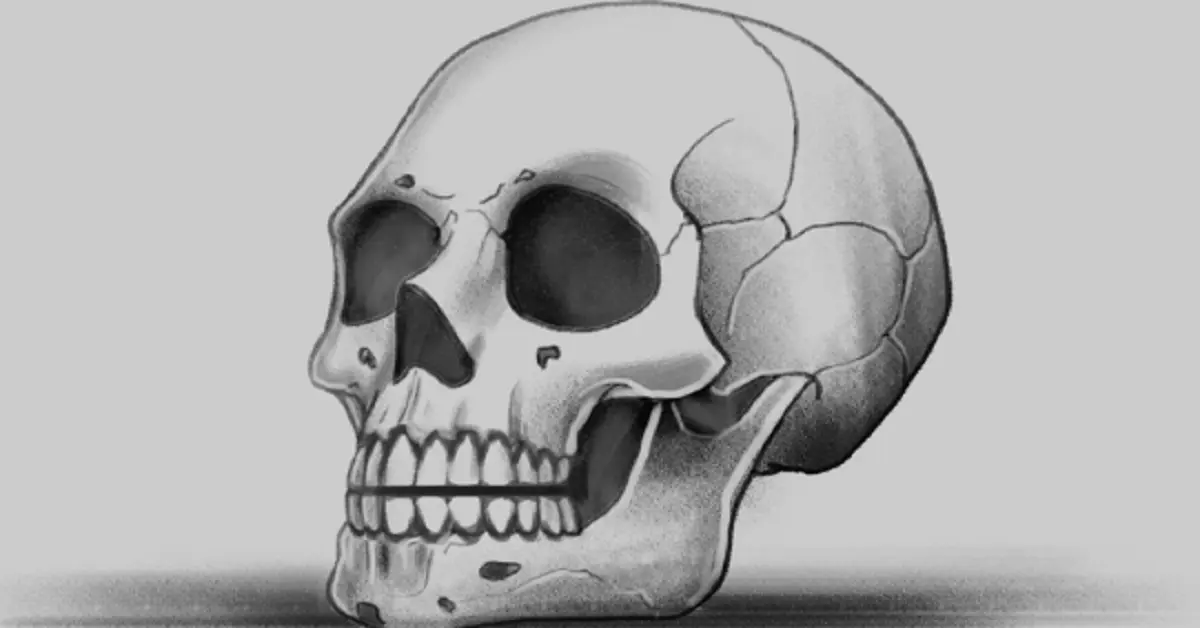
Basic Structure: The skull comprises two main parts: the cranium and the mandible. The cranium houses the brain, while the mandible forms the jaw.
Key Features and Proportions: Pay attention to the eye sockets, nasal cavity, and teeth. Understanding the proportions between these elements is crucial for an accurate representation.
Variations in Skull Shapes: Different skulls can vary slightly in shape and size, so studying a variety of skulls can be beneficial. drawing:oldj_7nsvxk= skull
Preparing to Draw
Preparation can make your drawing process smoother and more enjoyable.
Setting Up Your Workspace: Ensure you have good lighting and a comfortable space to work in.
Reference Materials: Use photos or 3D models of skulls as references. Real-life skulls or replicas can provide the most accurate details.
Sketching Basic Shapes: Start with simple shapes to outline the skull. Circles and ovals can help map out the cranium and jaw.
Step-by-Step Guide to Drawing a Skull
Here’s a step-by-step approach to drawing a skull:
Drawing the Outline: Begin with a circle for the cranium and add an oval or rectangle for the jaw. Sketch in the basic shapes of the eye sockets and nasal cavity.
Adding Details: Refine your outline by adding details like the cheekbones, teeth, and temporal lines. Take your time to ensure these features are proportionate.
Shading Techniques: Use hatching, cross-hatching, and blending to add depth and dimension. Shading can bring your skull to life by emphasizing its three-dimensional form.
Different Styles of Skull Drawings
Your artistic style can greatly influence your skull drawings.
Realistic Skull Drawings: Focus on detailed anatomy and precise shading to create lifelike representations.
Cartoon Skulls: Simplify the features and play with proportions to create fun and whimsical skulls.
Abstract Skull Art: Experiment with shapes, colors, and patterns to create unique and imaginative skull art. drawing:oldj_7nsvxk= skull
Common Mistakes and How to Avoid Them
Avoiding common mistakes can improve your drawings significantly.
Proportion Errors: Frequently check your proportions against your reference. Use a ruler if necessary.
Incorrect Shading: Study light and shadow to understand how they affect the skull’s form. Practice shading techniques regularly.
Overcomplicating Details: Simplify your drawing initially and add details gradually. This approach helps maintain control over your artwork.
Advanced Techniques
Once you’re comfortable with the basics, try these advanced techniques:
Using Different Mediums: Experiment with charcoal, pastels, or digital tools to diversify your skill set.
Incorporating Color: Add color to your skull drawings to make them more vibrant. Watercolors or colored pencils can add subtlety and depth.
Creating 3D Effects: Use perspective and foreshortening to give your skull drawings a three-dimensional appearance.
Inspiration and References
Inspiration can come from various sources.
Famous Skull Artworks: Study works by artists like Leonardo da Vinci or contemporary artists who specialize in skull art.
Modern Artists to Follow: Follow artists on social media platforms to see their latest work and techniques.
Online Resources and Tutorials: Websites like YouTube and art forums offer numerous tutorials and tips. drawing:oldj_7nsvxk= skull
Practicing and Improving Your Skills
Consistent practice is key to improving your drawing skills.
Regular Practice Tips: Set aside time each day or week for drawing. Practice different angles and lighting conditions.
Joining Art Communities: Engaging with other artists can provide valuable feedback and inspiration.
Seeking Constructive Feedback: Don’t be afraid to ask for feedback on your work. Constructive criticism can help you grow as an artist.
Showcasing Your Artwork
Showcasing your work can boost your confidence and open up new opportunities.
Creating a Portfolio: Compile your best works into a portfolio to showcase your skills.
Sharing on Social Media: Platforms like Instagram and DeviantArt are great for sharing your art with a wider audience.
Participating in Art Exhibitions: Look for local or online art exhibitions where you can display your work.
Conclusion
drawing:oldj_7nsvxk= skull .Drawing skulls is a rewarding artistic endeavor that can significantly enhance your skills and broaden your creative horizons. By understanding skull anatomy, gathering the right materials, and following a step-by-step approach, you can create impressive and accurate skull drawings. Experimenting with different styles, avoiding common mistakes, and continuously practicing will help you improve and develop your unique artistic voice. Remember, the journey of mastering skull drawing is as exciting as the final artwork itself. Keep drawing, stay inspired, and enjoy the process.