How to Install Metal Vents Easily
Welcome to innovations in home amenities, where environmental consciousness intersects with outstanding energy efficiency – the world of metal vents. As a homeowner contemplating an upgrade or a DIY enthusiast eager to kickstart the next exciting venture, a profound understanding of metal vent installation is indispensable. This primer escorts you through the process, underscoring the exceptional qualities of metal vents vis-à-vis ordinary materials, and enlightening you on when to enlist professional help.
Why Are Metal Vents a Superior Choice?
Green Living Enhanced
With modern society turning eco-friendlier, metal vents represent a significant stride towards a sustainable future. Not only are they typically fashioned from recycled materials, but they’re also recyclable when they’ve completed their service. This cycle significantly curtails waste, fostering a healthier environment.
Unparalleled Energy Efficiency
Notably, metal vents exhibit superior durability and remain impervious to warping or cracking. This resilience guarantees the efficiency of your ventilation system, trimming the energy required to regulate your home’s temperature. In stark contrast, conventional materials like plastic are prone to decay, instigating inefficiencies and augmented energy expenses.
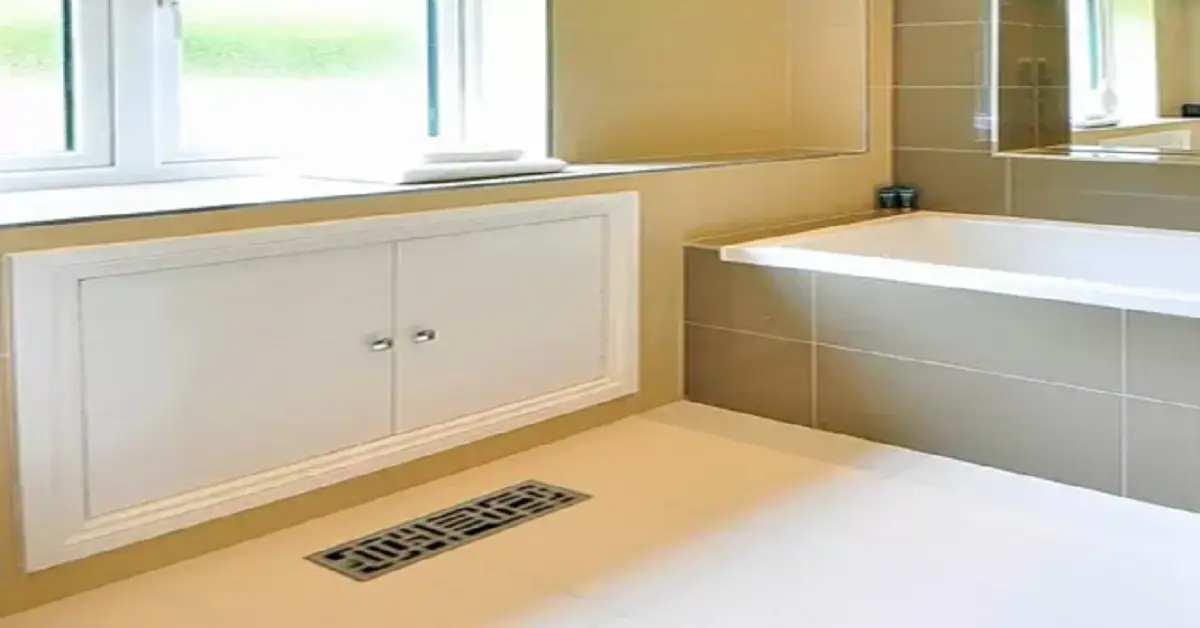
Installation Steps
Before embarking on the installation process, assemble the necessary implements and materials, including metal vents, screws and anchors, a drill, measuring tape, level, and sealant.
- Dimensioning and Indicating
To begin, demarcate the installation spot accurately using a measuring tape. Subsequently, pinpoint the screw locations on your ceiling or wall, ensuring they’re evenly spaced with a level.
- Creating Pilot Holes
Having designated the spots, create pilot holes using a drill. These holes facilitate the insertion of the anchors and guarantee a snug fit for your metal vent.
- Insertion of Anchors
Drive the anchors into the pilot holes. This offers added reinforcement, keeping your metal vent sturdily in place.
- The Placement of the Vent
Align the metal vent over the anchors, cross checking alignment with your markings, and ascertain it lies flush against the surface.
- Ensuring Stability
Using the drill, bind the metal vent in position. Confirm it’s securely fastened but steer clear of over-tightening, which could impair the vent or surface.
- Sealing Process
To forestall air seepage, apply a sealant around the vent’s edges, an essential step for preserving energy efficiency.
When to Involve a Professional
Though metal vent installation may seem like a simple DIY task, there are instances when it’s prudent to engage a professional. If your familiarity with power tools is sketchy or you are uncertain about the installation process, a professional can be a time and stress-saver. They also ensure your installation aligns with local construction norms and regulations, offering you confidence and tranquility.
The installation of metal vents is an investment that pays off in substantial environmental benefits and increased energy efficiency. By adhering to these elementary steps, you can augment your home’s ventilation system effortlessly. However, don’t shy away from seeking professional expertise if you feel overwhelmed. With the right strategy, you will relish the multitude of benefits metal vents provide, elevating both your home’s comfort and efficiency.